
 1800-HEATLEYS
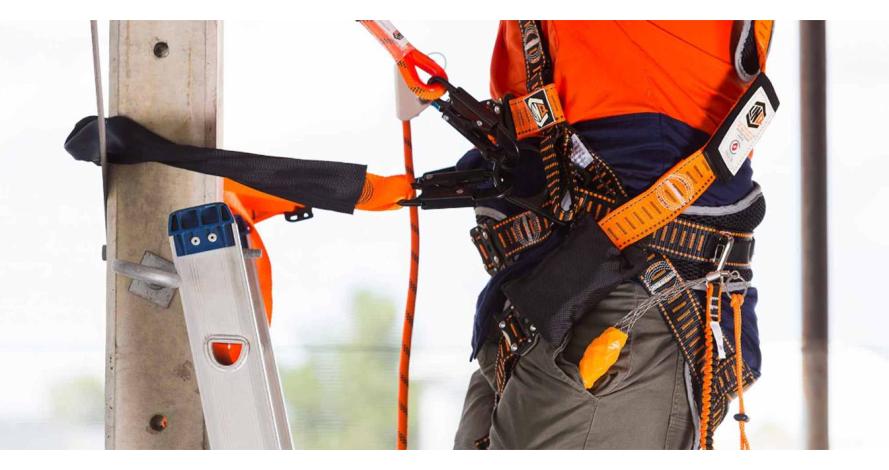
The chest strap should be placed directly under the sternum, and the webbing should fit securely under the buttocks. As a rule of thumb, a correct fit should allow a flat hand to be placed behind the leg strap.
As a matter of fact, LINQ’s intuitive harness design guides wearers into the correct fit if they have it wrong. The limited leg strapping guides the wearer into adjusting the shoulder webbing correctly first. Then, ensure afterwards the Belay loops are connected underneath the buttocks in a position where the fall arrest hardware presents no danger.
LINQ full body harnesses have been engineered and certified to provide the wearer with maximum safety, comfort and versatility while working at heights.
Step 1
Inspect harness to make sure it is fit for your height safety application and that all components are in excellent working condition.
Step 2
Hold harness by the rear Dorsal D Ring and arrange it to avoid any crossed or twisted straps.
Step 3
Don the harness as you would put on a jacket.
Step 4
The Dorsal D Ring must be positioned between the shoulder blades.
Step 5
Connect the chest strap across the upper body, and then connect the waist strap (if fitted - multi-purpose model). Adjust shoulder strap to approx 100mm of extra webbing above buckle to ensure sub-pelvic strap is positioned correctly and forms a seat.
Step 6
Secure left leg strap to left leg buckle and right leg strap to right leg buckle, making sure the webbing is not twisted.
Step 7
Adjust all straps and buckles for a firm, comfortable fit. Have a workmate check all connections.
Step 8
The belay loops must be brought together and fixed with an approved connector (Note: Never use single belay loops – always use in pairs).
Step 9
When securing the buckles on the LINQ Safety Harness, the pointy end must click into the female end first.